How to Change MAC Address on Android Devices
The syntax of this address is XX:XX:XX:YY:YY:YY, where XX and YY could be number, letters, or a combination of both. They are divided into groups of two. Now, the first six digits (represented by X) indicate the manufacturer of your NIC (Network Interface Card), and the last six digits (represented by Y) are unique to your handset. Now a MAC address is usually fixed by your device manufacturer and it is usually not for users to change or edit. However, if you are concerned about your privacy and would like to mask your identity while being connected to a public Wi-Fi then you can change it. We are going to discuss that later in this article.
How to Change MAC Address on Android Devices What is the need for Changing it? How to Find your MAC address? How to Change your MAC address on Android? Changing MAC address on Android without Root Access Changing the MAC address on Android with Root Access
What is the need for Changing it?
The most important reason for changing it is privacy. As mentioned earlier, when you are connected to a Wi-Fi network, your device can be identified using your MAC address. This gives a third person (potentially a hacker) access to your device. They can use your personal information to scam you. You are always at the risk of giving away private data when you are connected to public Hilton Honors Wi-Fi or at the airport, hotels, malls, etc. Your MAC address can also be used to impersonate you. Hackers can copy your MAC address to emulate your device. This could lead to series consequences depending on what the hacker decides to do with it. The best way to protect yourself from being the victim of malicious practices is to hide your original MAC address. Another important use of changing your MAC address is that it enables you to access certain Wi-Fi networks that are restricted to specific MAC addresses only. By changing your MAC address to the one that has access, you can also access the said network.
How to Find your MAC address?
Before we begin with the entire process of changing your MAC address, let us figure out how to view your original MAC address. The MAC address of your device is set by your manufacturer and the only thing that you can do is to view it. You do not have the permission to change or edit it. In order to find your MAC address, simply follow these steps.
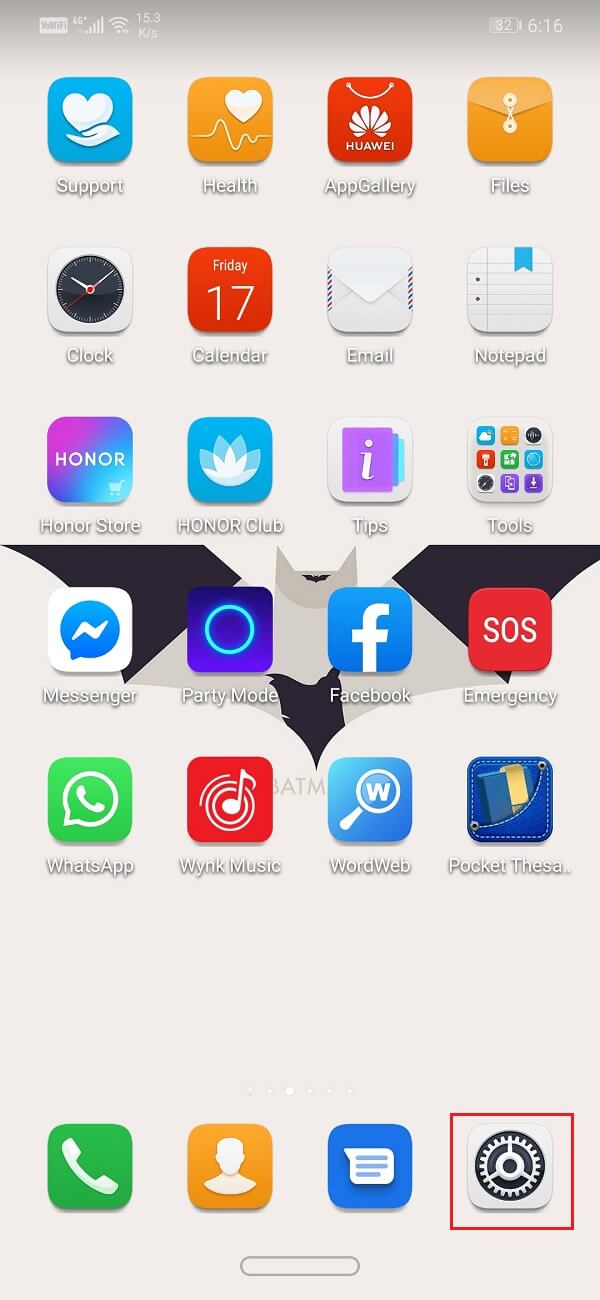
Go to the Settings of your phone.
Now click on the Wireless & Networks.
Tap on the W-Fi option.
After that, click on the three vertical dots on the right-hand corner.
From the drop-down menu, select the Wi-Fi settings option.
You can now see the MAC address of your phone.
Also Read: 3 Ways to Delete Pre-installed Bloatware Android Apps
How to Change your MAC address on Android?
There are two different ways in which you can change the MAC address of your Android smartphone:
With Root Access Without Root Access
Before we begin with these methods you need to check the root status of your phone. This means that you have to make sure whether or not your device has root access. It is a very simple process. All that you have to do is download the Root checker app from the Play store. Click here to download the app on your device. It is a freeware and also extremely simple to use. In just a few taps the app will tell you whether or not your phone is rooted. An important thing that you must keep in mind before changing your MAC address is that the first six digits of your MAC address belong to your manufacturer. Do not change these digits or else you might face a problem later while connecting to any Wi-Fi. You are only required to change the last six digits of your MAC address. Now let us take a look at the various methods to change the MAC address of your phone.
Changing MAC address on Android without Root Access
If your phone does not have root access then you can change your MAC address using a free app called Android Terminal Emulator. Click here to download the app from the Play Store. Once you have downloaded the app, simply follow the steps given below to change your MAC address.
- The first thing that you need to do is note down the original MAC address. We have already discussed how you can find your original MAC address earlier in the article. Make sure that you write down the number somewhere, in case you need it in the future.
- Next, open the app and type the following command: “ip link show”.
- You will now see a list and you have to find out the name of your interface. It is usually ‘wlan0’ for most of the modern Wi-Fi devices.
- After this, you need to type this command: “ip link set wlan0 XX:XX:XX:YY:YY:YY” where ‘wlan0’ is the name of your interface card and “XX:XX:XX:YY:YY:YY” is the new MAC address that you want to apply. Make sure to keep the first six digits of the MAC address the same, as it belongs to the manufacturer of your device.
- This should change your MAC address. You can check by going to your Wi-Fi settings and then viewing your MAC address.
Changing the MAC address on Android with Root Access
In order to change the MAC address on a phone with root access, you will need to install two apps. One is BusyBox and the other one is Terminal Emulator. Use the links given below to download these apps.
Download BusyBox for Android. Download Terminal Emulator for Android.
Once you have downloaded and installed these apps, follow these steps to change your MAC address.
- Start the Terminal Emulator app.
- Now type in the command ‘su’ which stands for superuser and press enter.
- If the app asks for root access then allow it.
- Now type in the command: “ip link show”. This will display the name of the network interface. Let us assume it is ‘wlan0’
- After this enter this code: “busybox ip link show wlan0” and hit enter. This will display your current MAC address.
- Now the code to change the MAC address is: “busybox ifconfig wlan0 hw ether XX:XX:XX:YY:YY:YY”. You can put any character or number in place of “XX:XX:XX:YY:YY:YY”, however, make sure that you keep the first six digits unchanged.
- This will change your MAC address. You can check it for yourself to make sure that the change was successful. Recommended: Change Your MAC Address on Windows, Linux or Mac I hope the above tutorial was helpful and you were able to Change MAC Address on Android Devices. If you still have any questions regarding this tutorial then feel free to ask them in the comment section.